Wednesday, January 29, 2014

Chicken Quesadillas


This is another one of those dishes that I had once while out to eat and instantly loved it, so I decided to try and replicate it at home. Once you figure out what’s in something, it’s not too hard to make it at home, sometimes through some trial and error. There are probably many recipes for this out there, but this is what I’ve come up with; it’s easy and everyone loves it. You can also add chopped bacon to this if you'd like; we thought it tasted great without it, and didn't need the extra fat.

So, let’s get cooking!

Cut up the chicken breasts into narrow strips and then into small pieces, about ¼ to ½” cubes.

Sauté in a skillet over medium heat with 1 Tbl olive oil, sprinkled with the Cajun seasoning. I suggest using PepperMary’s Cajun Blend for excellent flavor and quality. Stir frequently.


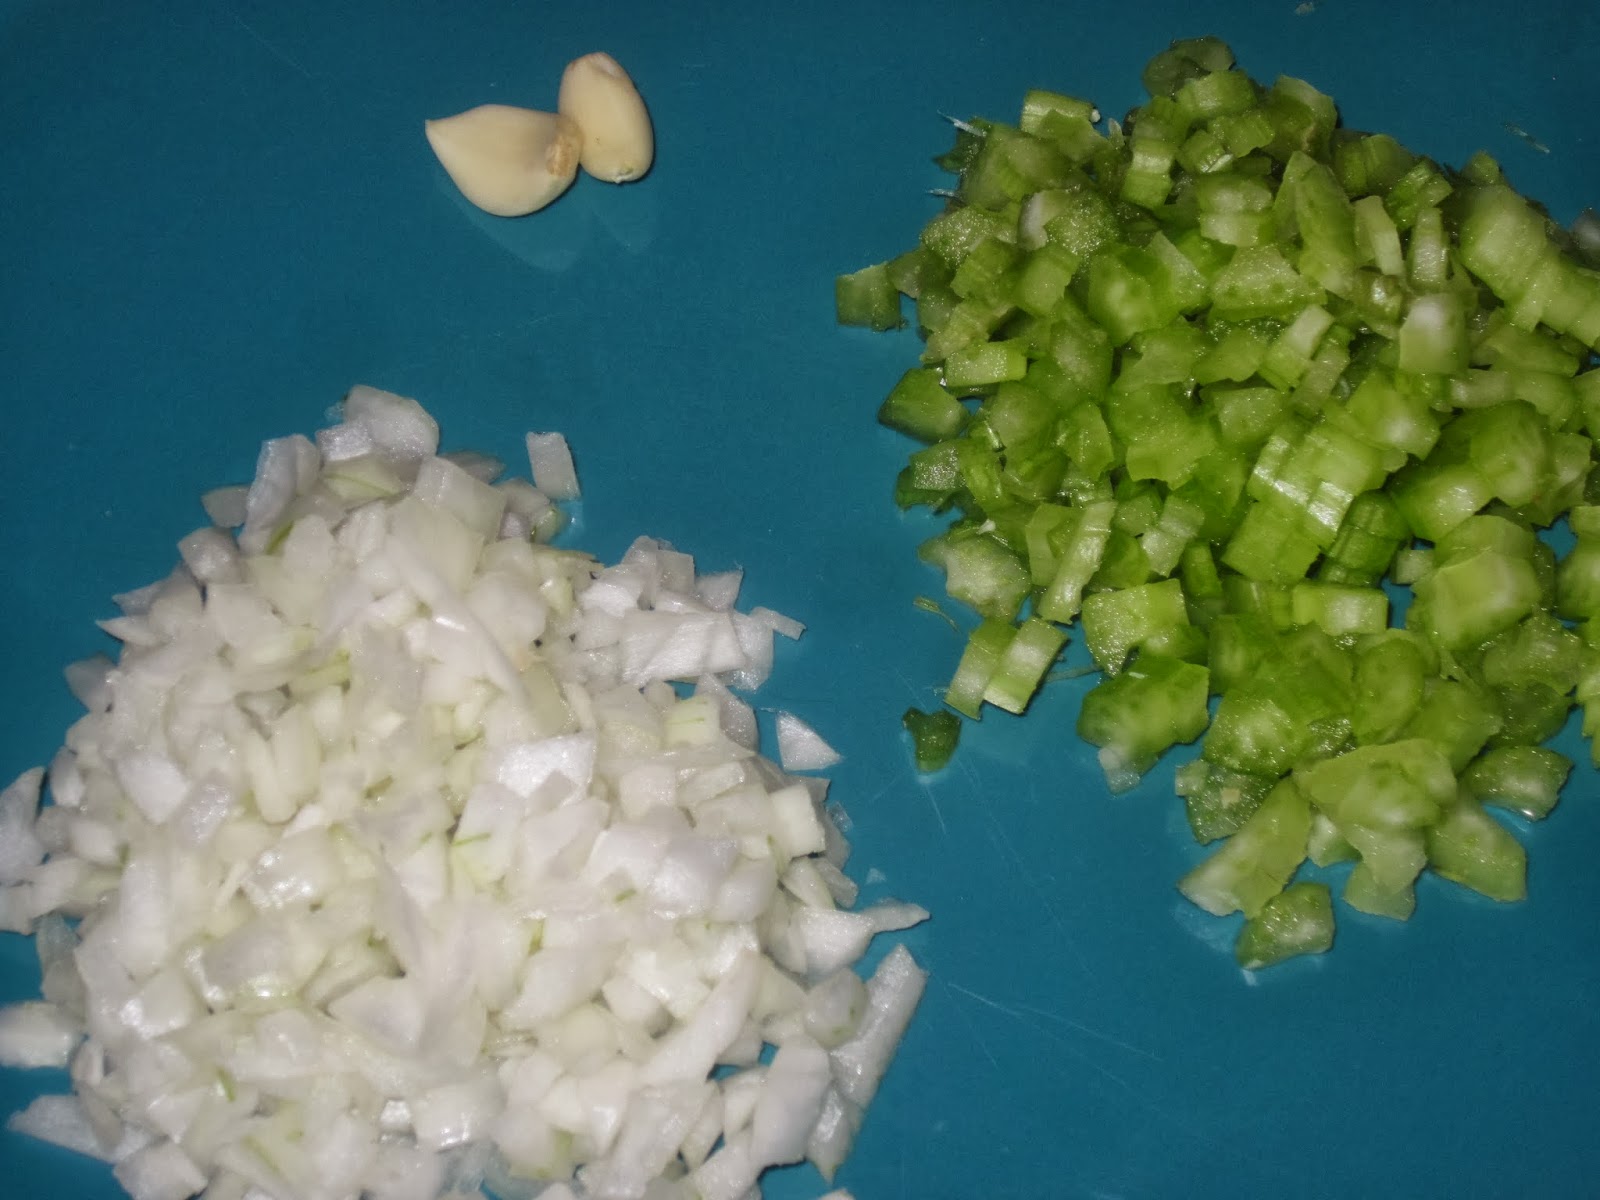
While the chicken is cooking, dice the Vidalia onions and bell peppers. When I made this, I was out of sweet red peppers, so I had only the green, but I highly recommend using both if you have them. Peel and mince the garlic, or use a garlic press at the appropriate time, which is what I do.

When the chicken is done, transfer to a bowl or plate. Using the same skillet, sauté the onions and peppers, stirring frequently, about 4 minutes or so. Add the minced garlic and cook an additional 1-2 minutes.


Meanwhile, use a grater to shred the extra sharp cheddar and Monterey jack cheeses.

Remove the skillet from heat after you’ve added the garlic and sautéed the additional minute or two, and add the chicken. Stir well to combine.


Laying a tortilla down, spread 1/6th to 1/8th of the chicken/veggie mix on half of the tortilla.

Sprinkle 1/6th to 1/8th of each kind of shredded cheese on top of the chicken/veggie mixture. 1/6th would be ¼ c worth; 1/8th slightly less.

Fold the top of the tortilla down over, and place on a sheet pan.


Bake at 350° for about 15 minutes. Using a knife, or better yet, a pizza cutter, slice each quesadilla into 4 triangles. Serve with salsa and/or sour cream, if desired. We like both. Enjoy! ~TMMF

Chicken Quesadillas
   (serves 6-8)

3 chicken breasts
1 green bell pepper
1 red bell pepper
1 large onion
2 cloves garlic
1-2 tsp PepperMary Cajun Blend
3 Tbl oil, divided
1 ½  c shredded sharp cheddar cheese
1 ½  c shredded Monterey Jack cheese
6 -8 large tortilla wraps


Monday, January 27, 2014

Yogurt Marinated Shrimp over Arugula Salad


This is the third of the meals that I received in my box from HelloFresh, a home delivery subscription company that I recently reviewed (HelloFresh: A Mosaic Review). This is a dish that I would have at first turned up my nose at, but I was excited to try some new tastes, and this was definitely new for me! It was very good, but I have to say that it doesn’t do so well as leftovers. With an African flair, the shrimp is tasty and succulent, and the Basmati rice balances out the tang of the Arugula Salad.

So, let’s get cooking!


First, peel and mince the garlic and fresh ginger root. I love using fresh ginger root in recipes; if you can, try to use it over dried ground ginger. You’ll love it!


Juice the lime: with your hand on top pressing down firmly, roll the lime on the counter or table a minute, cut in half, and juice it.


Place the yogurt in a small bowl and add the honey, ginger, garlic, cardamom, turmeric, red pepper flakes, 1 Tbl olive oil, and half the lime juice…


     …and mix well.


Coat the shrimp in the yogurt mixture and place on a sheet pan. Place the shrimp in the refrigerator to marinate for about ten minutes.


Meanwhile, start the rice. Bring 2 c water to a boil in a medium sauce pan. When it is boiling, add the Basmati rice, cover, and bring heat down to a low simmer, coking for about 20 minutes or until water is absorbed.


When the shrimp are done marinating, place in a pre-heated 350° oven for about 13-15 minutes. If desired, you can brush more marinade on them halfway through cooking.


For the salad, take off the stems of the arugula and place in a medium size bowl. In a small bowl, mix together the other 1 Tbl olive oil, the other half of the lime juice, a pinch or 2 of sugar, and salt and pepper to taste. The original recipe didn’t include any sugar in the dressing, and everyone was very aware of it. It really needs it, so I added it to the recipe.

Pour the dressing over the arugula and toss well.


To serve, place a helping of rice on the plate. Add some of the Arugula Salad on top, and then add the shrimp. Enjoy! ~TMMF

Yogurt Marinated Shrimp 
   over Arugula Salad
     (serves 4)

12 oz medium shrimp, raw, peeled
1 c Basmati rice
1 lime
2 cloves garlic
1 thumb fresh ginger root
3/4 c plain yogurt
2 Tbl honey
1 tsp cardamom
1 tsp turmeric
1 tsp red pepper flakes
1-2 pinches sugar
2 Tbl olive oil, separated
4 oz arugula


Saturday, January 25, 2014

Cheesy Cauliflower Soup


This is one of those comfort foods that’s not hard to make and works up fairly quickly, especially if you get the kids involved. I always encourage having children help with cooking and baking; it’s a great way to teach them invaluable life skills, while also working together for the nourishment of the family, and that added bonus of time spent together strengthening the ties that bind. Cheesy Cauliflower Soup is a wonderful meal to do that with, and great for chilly days. Pair it with some nice homemade garlic bread and enjoy!


So, after washing the head of cauliflower, cut out the core and pull apart into smallish florets, using a knife when needed to split apart the little “tree trunks.” ;) This is something I’d give my middlish young children to do.


Dice the onion and celery, and mince the garlic (or use a garlic press at the appropriate time, which is what I usually do).


Sauté the onions and celery in the 2 Tbl of butter, in a large pot, until tender. It usually takes about 8 minutes or so; after 5 minutes add the minced garlic. You want to add the garlic a little later because it’s smaller and doesn’t need as much time, obviously, and is at risk of burning. Lord knows we don’t want our beloved garlic to burn! ;)


While the onions and celery are sautéing, dissolve the chicken bullion or base in the 3 c of water. You can use a small pan on the stove to do this; I usually just throw it in the microwave.

Peel and grate the carrot. This is a great step for younger kids to do while you’re working on other things.


You will also want to get the cheddar cheese grated. This is another step that I usually let the kids do. Believe it or not, my children argue over who gets to do these things. Well, they also argue about who gets to help, period! Sometimes they want to be the only one cooking with me, so I often schedule meals that each can help me with alone.


When the celery, onion, and garlic are tender and translucent, add the 3 c of  water with bullion or base, and the cauliflower florets. Simmer until tender, about 8-10 minutes or so. About 2 minutes before the cauliflower is done, add the grated carrot.


Now, using a slotted spoon, remove the cauliflower and any veggies that happen to hitch a ride on the spoon, placing them in a bowl and setting aside. Try to make sure you’re not getting the liquid too, but don’t sweat it too much.

Add the milk or half & half to the saucepan and heat to a low boil.


Make the roux by melting the ¼ c butter in a cereal bowl in the microwave. Add the flour and mix together with a whisk.


Whisk in the roux, stirring constantly to prevent lumps, and scraping the outer edges of the bottom of the saucepan with a rubber spatula. Don’t leave this at all; stay with it and keep whisking, with the heat high enough to keep it at a low boil. When thickened, turn the heat down a little.


Add the cauliflower/grated carrots/celery and onions back in and stir, heating thoroughly. Add the cracked peppercorn and grated cheddar cheese, stirring until melted. Serve and enjoy! ~TMMF

Cheesy Cauliflower Soup

1 lg head cauliflower
¼ c  + 2 Tbl butter
¾ c flour
½ Vidalia onion
2 stalks celery
2 cloves garlic
1 large carrot
3 c water
4 c milk or half & half
2 chicken bullion cubes
1 tsp fresh cracked peppercorn
2 c shredded extra sharp cheddar cheese


Friday, January 17, 2014

Bubble Pizza (Starring Timmy!)


This is a little recipe that a friend of mine shared years ago that’s easy as pie and kids love to make. Since Timmy has recently become more interested in cooking with me, I thought this would be a great recipe for him to make by himself, with just a little supervision. I absolutely LOVE cooking with my kids. It’s such a wonderful way to build bonds with them, working together to create nourishment for our bodies, and learning too! There are lots of pictures, because he’s the star of the show today. So, without further ado…Heeeeeeeere’s Timmy!

First, open up the cans of biscuits, and cut them into quarters. Place the cut biscuit pieces into a bowl.

Measure the spaghetti sauce and add to the biscuit pieces. Gently stir the sauce in to coat all pieces. We chose to use a rubber spatula and Timmy learned to fold the ingredients together.


Next, cut the pepperoni slices into quarters. We find that keeping it frozen makes slicing and handling much easier. Set them aside.

Take half the sauce-coated biscuit pieces and spread them in a greased 9 X 13” baking dish. They won’t completely cover the bottom; just make sure they’re spread evenly.

Distribute the pepperoni over the biscuit layer, and then sprinkle half the mozzarella cheese over it.


Now make the second layer: spread the rest of the biscuits and spaghetti sauce over the first layer. Sprinkle the other cup of mozzarella on top.

Here’s Chef Timmy with his first culinary masterpiece! Bake in a 350° oven for 35-45 minutes, until biscuits in center are done. Enjoy! ~TMMF


Bubble Pizza
   (serves 6-8)

4 cans refrigerated biscuits
2 c spaghetti sauce
2 c shredded mozzarella cheese
30 or so slices pepperoni


Wednesday, January 8, 2014

Sautéed Chicken with Ginger Parsnips and Carrots


This is another of the recipes that I received with my box from HelloFresh, a home delivery company that supplies you with 3 dinner recipes and the ingredients necessary for them. While all 3 recipes were incredibly delicious, this was our favorite among them. An Asian flair, lots of veggies, and my favorite dark meat chicken…this is a recipe for success!

So, let’s get cooking!

Prepare the vegetables by dicing the Vidalia onion, then peel and slice the parsnips and carrots. Peel and mince the garlic cloves. I use my garlic press to mince them at the appropriate time in the cooking process of the recipe. Using a knife, pare the fresh ginger and mince. If using fresh thyme, strip the leaves off the sprigs of thyme with your fingers.


Dissolve the chicken stock cube in 1 cup of water and set aside.

Trim any fat from the chicken thighs and season with salt and pepper. I used my sea salt and peppercorn grinders that my beloved daughter Caitlin gave us.


In a large skillet over medium-high heat, toast the sliced almonds, stirring them constantly until they are golden brown. Set aside in a bowl or plate.


In the same skillet, heat ½ Tbl olive oil, and sauté the chicken thighs for 2-3 minutes, until browned. Turn the thighs and sauté another 2 minutes.


Place the chicken thighs on a sheet pan and cook in a pre-heated 350° oven for 6-8 minutes.


Using the same skillet, heat the last 1 Tbl of olive oil and sauté the onions, garlic, and ginger, about 3 minutes. Add the parsnips, carrots, and thyme. After about another 3 minutes, season with salt and pepper and remove from heat.


Next, add the chicken stock to the sauté pan and cover, simmering for about 8 minutes, about the time the vegetables will be tender. I took the cover off after 3-4 minutes so I could cook down the stock and create a thicker sauce.


Serve by scooping out a portion of the vegetables onto a plate, then placing a chicken thigh portion on top, and finally sprinkling the toasted almond slices.

My family LOVED this recipe, even my young boys. I had decided that the next time I made it, I would include celery in the recipe, and I did. The celery turned out as well as I had expected for this dish, and all in the family loved it. Enjoy! ~TMMF

Sautéed Chicken with Ginger Parsnips and Carrots
     (a HelloFresh recipe) (serves 4)

4 boneless chicken thighs
1/3 Vidalia onion
1 thumb ginger root
3 cloves garlic
2 parsnips
3 big carrots
1 oz. sliced almonds
2-3 sprigs fresh thyme
     (or 1/2 tsp or so dried)
1/2 chicken stock cube
   in 1 c. water
     (or 1 chicken bullion cube)
1 1/2 Tbl olive oil


Wednesday, January 1, 2014

Classic Beef Stew with Chickpeas and Green Beans


Here is the first meal that I made in my review for the home delivery company HelloFresh. It’s a delightfully simple recipe, yet it does take a little more time to prepare than I would have thought. But it is well worth it, as the taste is out of this world. With the exception of the chickpeas, it’s the same as the beef stew I make, only mine is thickened and this has the consistency of any other soup. Very heart and tasty!

So, let’s get cooking!


While a large pot of water is set on to boil, start preparing your veggies. Peel and slice the carrots into rounds, dice the onion, cut off the ends of the green beans, and peel the potato and cube.


I left the skins on mine because they do add extra fiber, nutrition, and texture, and I also cannot peel them without having an allergic reaction. As soon as we found out at least 15 years ago (after several trips to the doctor with blisters on my scleras!), I had to have someone else peel them. When we discovered I couldn’t even be near anyone peeling them, we gave up and haven’t peeled potatoes since.


Peel and mince the cloves of garlic, and finely chop the cilantro. Set all the vegetables aside and at the ready.


In a large bowl, put water and about a dozen ice cubes, as you’ll need this for the vegetables in a few minutes. When the water in the pot is boiling, add the potatoes and green beans. After one minute, add the carrots. Cook for only 1 minute more, then drain these veggies and place them into the bowl of ice water to stop the cooking. When cool, drain and set aside, separating the potatoes from the carrots and green beans.


In the same pot, place the bullion cube and 2 cups of water. Heat enough to dissolve the bullion, then set aside, off the heat.


Now slice the stew beef into small pieces. Even if I buy stew beef that looks relatively small, I still cut it smaller to spread it more in whatever I’m making. Season the beef with salt and pepper. I used my salt and pepper grinders. Freshly ground pepper is just so heavenly!


In a skillet, heat 1 Tbl olive oil over medium-high heat. Add the sliced beef cubes and sauté about three minutes. Transfer to a plate or bowl, including the liquid in the pan.


In the same skillet, add the other tablespoon of olive oil. Cook the diced onion until just soft, about 3 minutes.


Add the potatoes and minced garlic and cook for 1-2 minutes. Add the green beans and carrots, cooking for an additional 5 minutes, stirring frequently. Remove from heat.


In the large pot with the dissolved beef bullion, add the drained chickpeas and the cilantro, and bring to a boil. Next, add the vegetables from the sauté pan, and lower heat to a simmer, cooking for 5 more minutes.


Add the beef and any juices that have accumulated. I used a rubber spatula to get every last drop! Simmer for a minute until beef is heated through.

Serve with a lemon wedge on the side. Enjoy! ~TMMF


Classic Beef Stew with Chickpeas and Green beans
   (a HelloFresh recipe) (serves 2-4)

12 oz. stew beef
1 small onion
1 large carrot
1 large potato
4 oz. green beans
2 cloves garlic
1/2 oz cilantro
1 c chickpeas
1 beef bullion cube
2 Tbl olive oil, divided
1 lemon (optional)

Click for information about HelloFresh.
For my review about HelloFresh, go to HelloFresh: a Mosaic Review.